5 best foam roller exercises for recovery and mobility
Last updated March 31, 2026
Foam rolling is a simple way to support recovery and mobility. Discover 5 effective foam roller exercises that help ease muscle tension, improve flexibility and keep your body moving well.

5 best foam roller exercises for recovery and mobility
Last updated March 31, 2026
Foam rolling is a simple way to support recovery and mobility. Discover 5 effective foam roller exercises that help ease muscle tension, improve flexibility and keep your body moving well.
Foam rolling is one of the simplest ways to look after your body between workouts. With just a foam roller and a bit of time, you can ease muscle tightness, improve mobility and support recovery without needing a full stretch routine or expensive equipment. If you’re searching for foam roller exercises, these five moves are a good place to start. They target some of the most commonly tight areas and work well for beginners and regular trainers alike.
Jonny Cainer, a Peak Performance Coach with 25 years of elite coaching experience, says foam rolling is most effective when it supports the work you’re doing in the gym, not when it becomes a replacement for smart training. He recommends approaching it like technique work: controlled, consistent and never rushed.
As you build confidence, guidance from a personal trainer can help you refine technique and use foam rolling more effectively alongside training.
Why foam rolling matters

Before jumping into the moves, it helps to understand why foam rolling is worth your time.
Foam rolling works as a form of self-myofascial release, helping ease tension in muscles and connective tissue that builds up from training, prolonged sitting or everyday movement. Rolling encourages better blood flow to tight areas, which supports recovery and helps muscles feel less stiff.
Regular foam rolling can also improve flexibility and range of motion, making movements like squats, lunges and overhead lifts feel smoother. It is low impact, affordable and easy to do at home or at the gym, which makes it a realistic habit to stick with.
Foam rolling can be used before workouts for mobility, after training to support recovery or on rest days to reduce stiffness.
Johnny Salmon, founder of Chief Exercise Officer Pty Ltd, often reminds clients that the best recovery habits are the ones you can repeat week after week. Keeping it simple and consistent tends to do more for long-term mobility than trying to do everything perfectly for a few days.
The 5 best foam rolling moves
Below are five of the most effective foam roller exercises. These moves focus on major muscle groups that often hold tension. Roll slowly, stay controlled and avoid putting direct pressure on joints or bony areas.
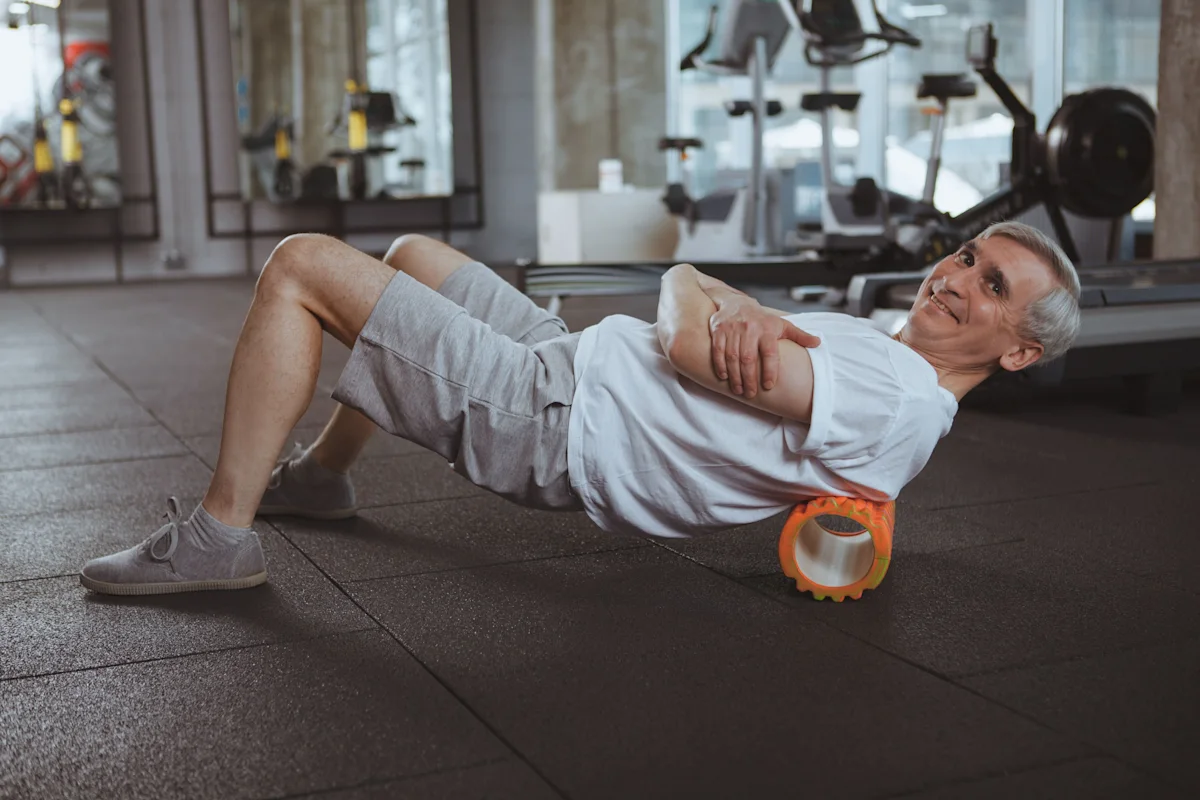
1. Upper back (thoracic spine) Roll
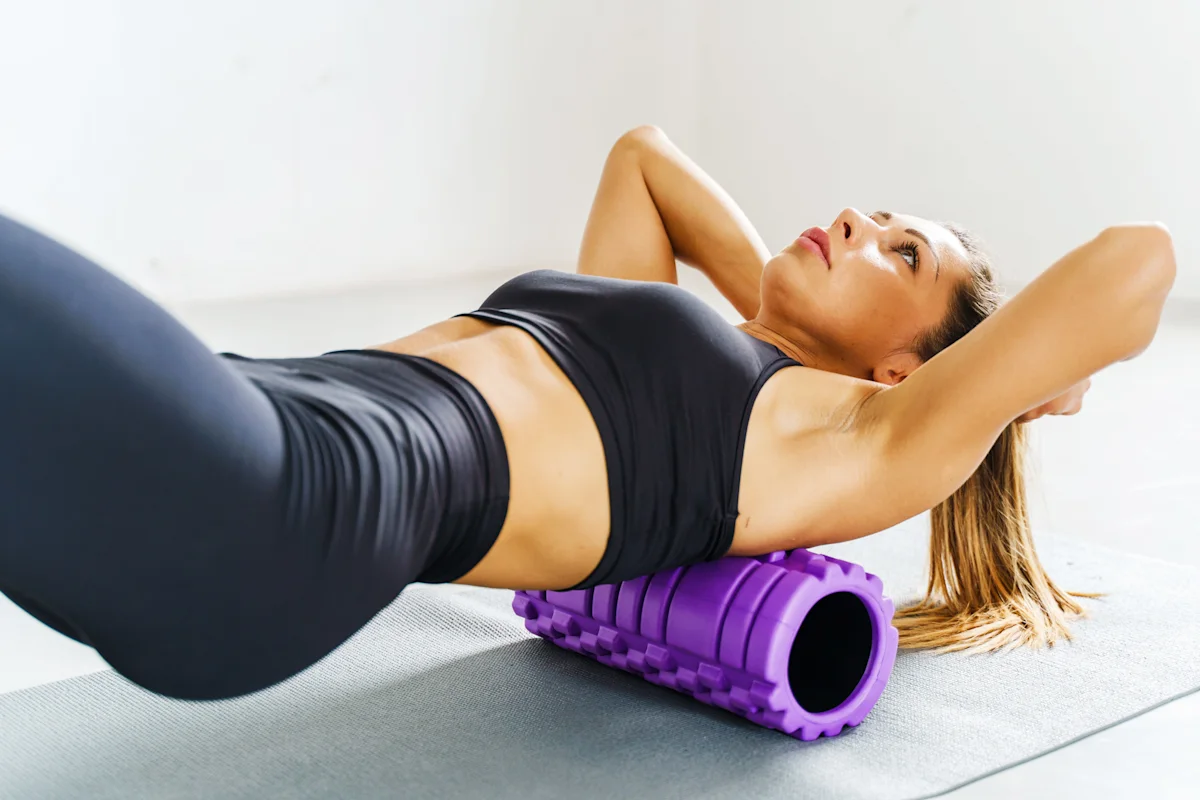
This move targets the thoracic spine, which often becomes tight from desk work, driving and upper body training.
- Lie on your back with the foam roller placed under your upper back, just below the shoulder blades.
- Support your head with your hands and gently lift your hips off the floor.
- Slowly roll from your upper back to mid back, stopping before the lower spine.
- If you find a tight or tender spot, pause there for a few breaths before continuing.
Benefits: This roll helps release tension in the thoracic region, encourages better posture and supports shoulder mobility, especially if you lift weights or sit for long periods.
2. Lat (Latissimus dorsi) and side roll
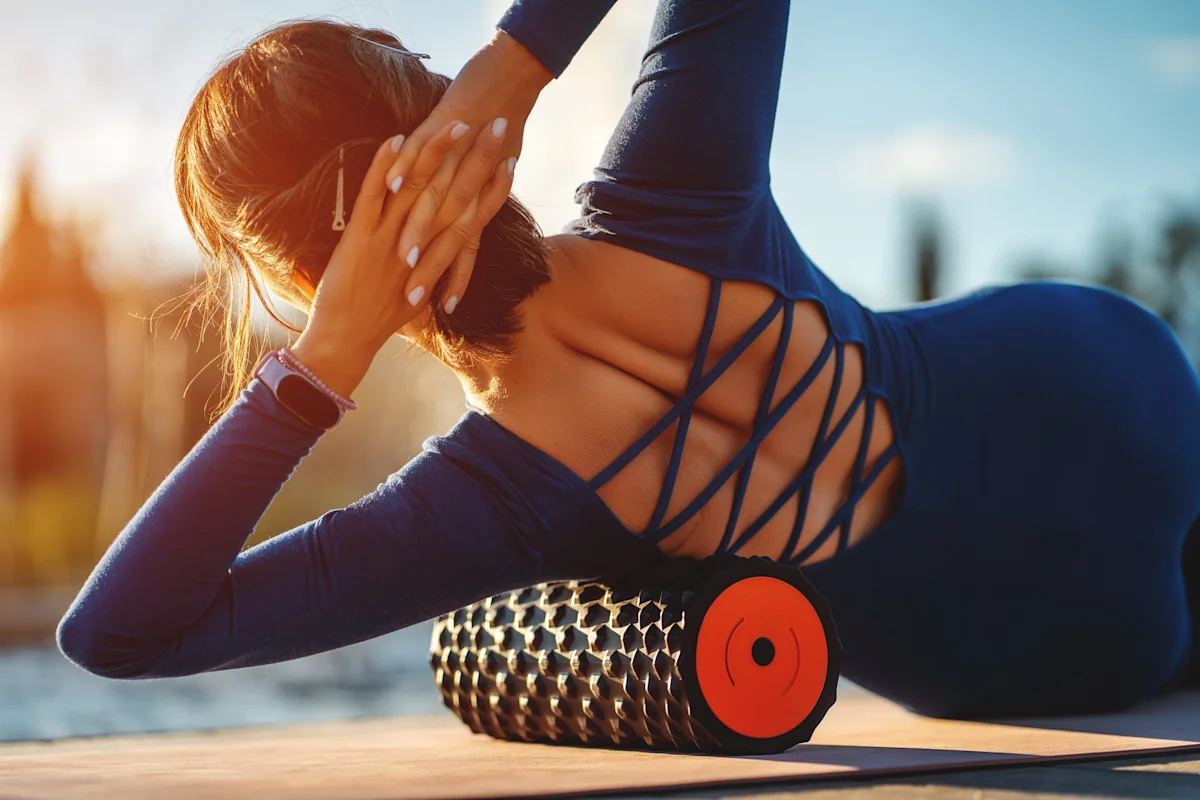
Tight lats can limit shoulder movement and affect exercises like pull-ups, overhead presses and swimming.
- Lie on your side with the foam roller under your lat (armpit area along the side of your torso).
- Extend your top arm overhead and gently roll from the upper lat down towards the mid rib area.
- Keep movements slow and controlled, then switch sides and repeat.
Benefits: Rolling this area can help free up shoulder movement and reduce tightness that pulls on the upper back and arms.
3. Quadriceps roll
The front of the thighs works hard during walking, running, squats and lunges, which makes quad tightness very common.
- Lie face down with the foam roller under your quads (thighs).
- Support yourself on your elbows and roll from just above the knees up towards the hip crease.
- To target different parts of the muscle, you can slightly shift your weight from side to side.
Benefits: This move helps reduce tension in the quads and can make lower body movements feel smoother and less restricted.
4. IT band and lateral thigh roll
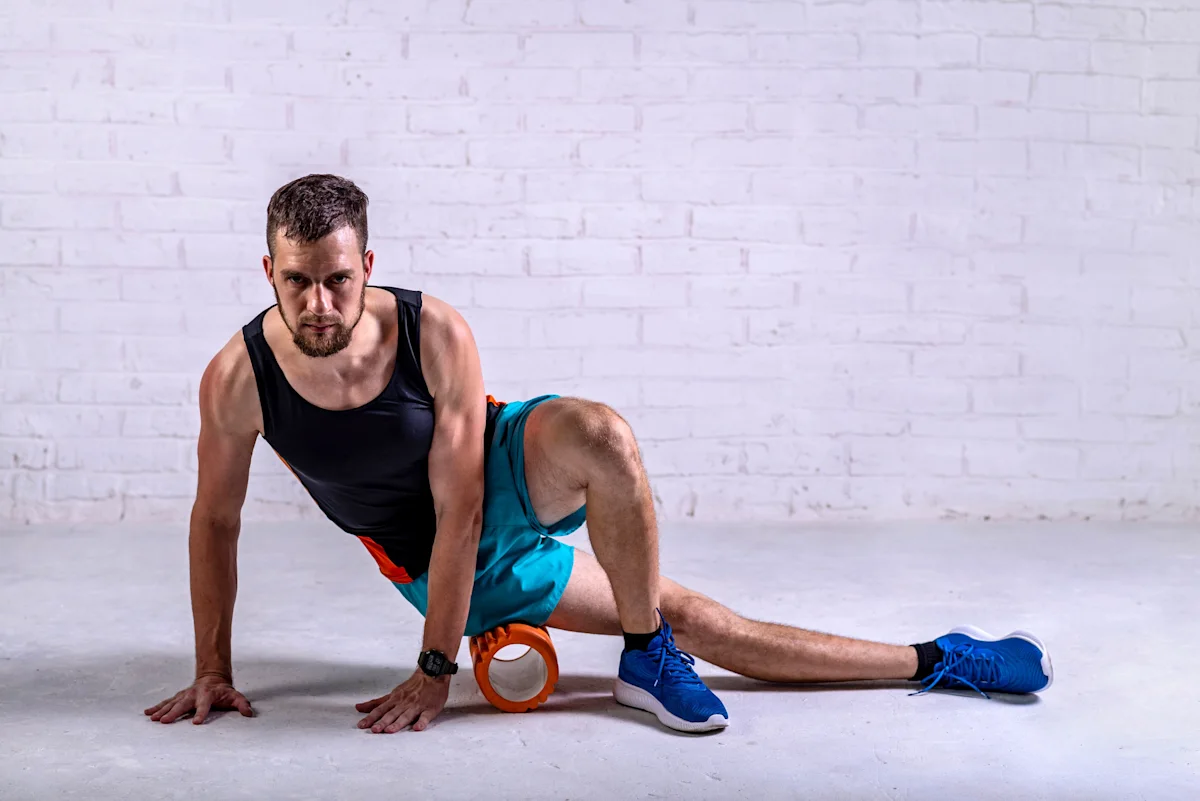
The outer thigh can feel particularly sensitive, so this move is all about control rather than pressure.
- Lie on your side with the roller placed along the outer thigh, just below the hip.
- Use your hands and top leg to support your weight as you slowly roll down towards the knee, stopping just above it.
- Be cautious as the IT band is sensitive; slow and controlled movement works best.
Cainer notes that this is a common area where people use too much pressure too quickly. He recommends using control and support from your arms and legs so you can adjust intensity, rather than forcing your body weight onto a painful spot.
Benefits: This roll can help ease lateral thigh tension, which may support knee comfort and running gait over time.
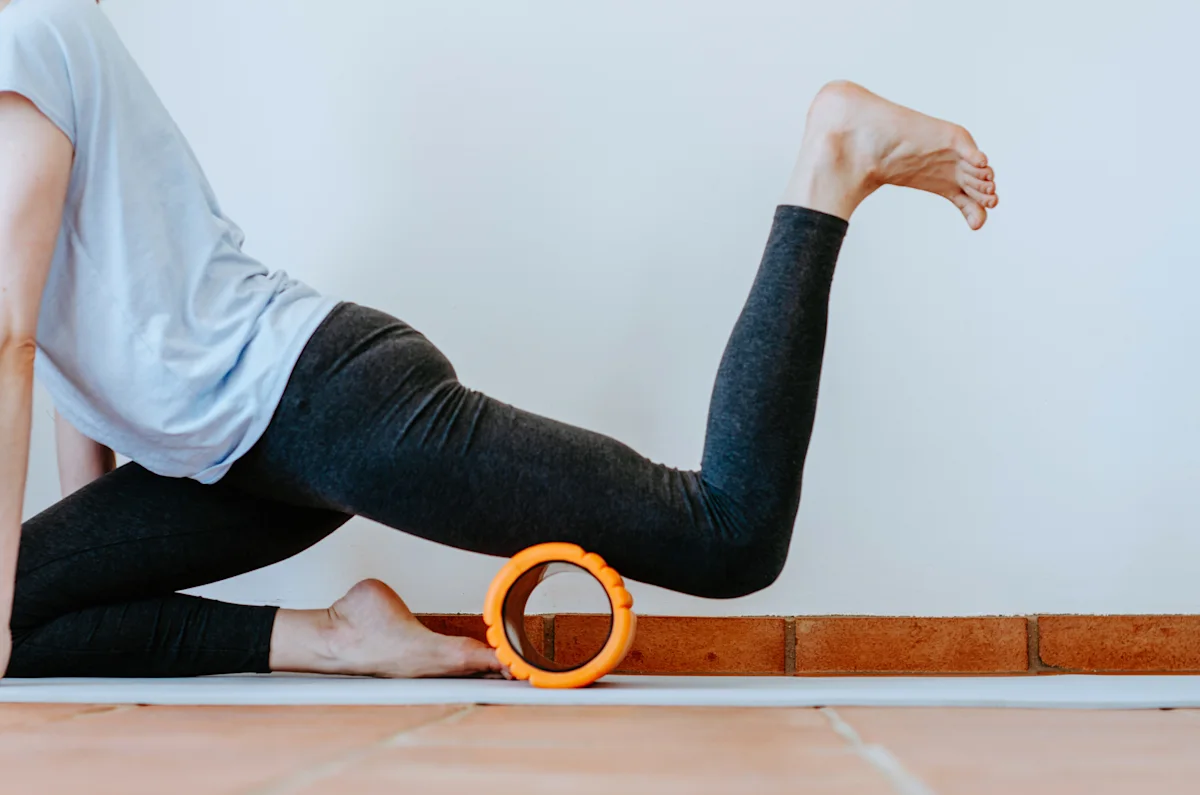
5. Calf roll
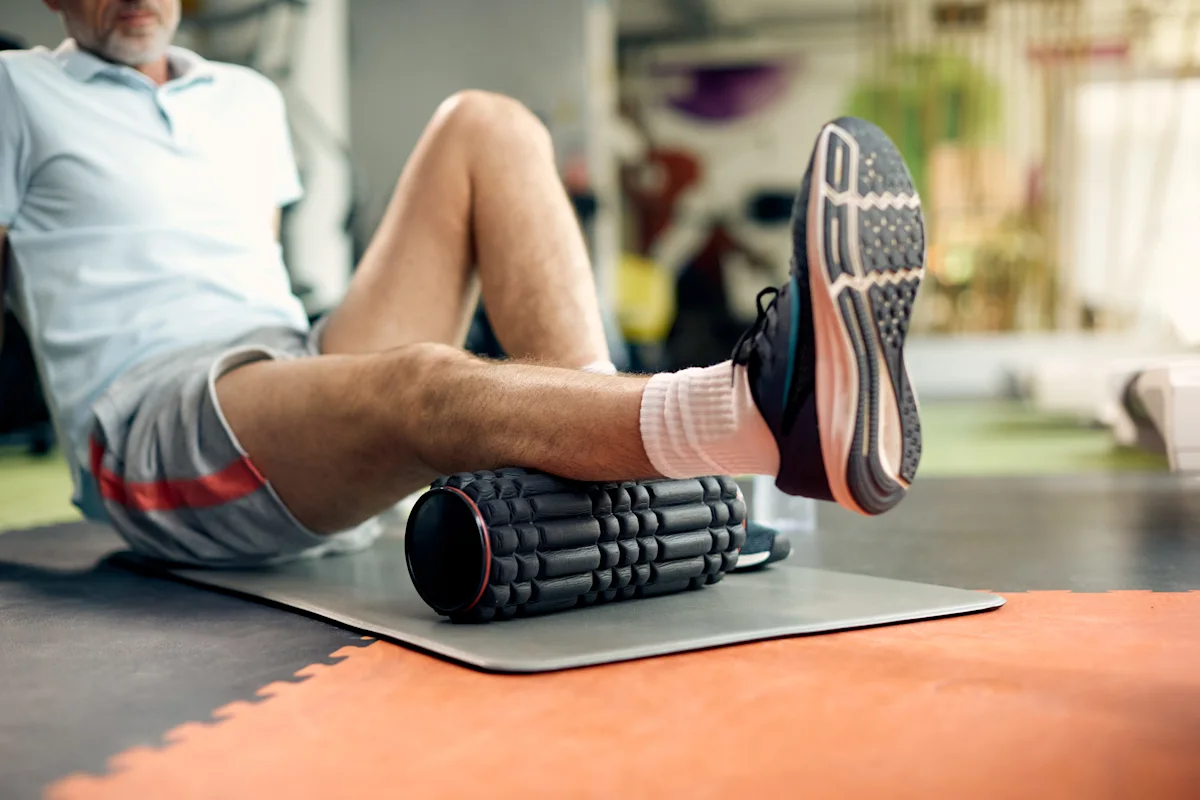
Tight calves are common if you run, jump or spend a lot of time on your feet.
- Sit on the floor with one leg extended and the foam roller under your calf.
- Use your hands or the other leg to lift your hips slightly and roll from the ankle up towards just below the knee.
- Rotating the leg slightly inward and outward can help you target different parts of the calf.
Benefits: Calf rolling eases tightness, supports ankle mobility and can aid in recovery from running or jumping.
How to use these moves safely & effectively

Foam rolling works best when it is done slowly and with intention. Rushing through the movements or using too much pressure can make it uncomfortable without adding extra benefit.
Aim to roll slowly and steadily rather than rushing through each movement. When you find a tender spot, pause and breathe for around 15 to 30 seconds rather than rolling back and forth quickly. Try to cover the full length of each muscle instead of focusing only on the sore areas.
Cainer also recommends listening to your body while rolling. If something feels sharp, pinchy or creates joint discomfort, it’s usually a sign to reduce pressure, adjust position or choose a different area rather than pushing through.
Avoid rolling directly over joints like knees, hips and the lower spine. Foam rolling can be used before workouts for light mobility or after training to support recovery. One to two minutes per muscle group is usually sufficient to avoid overstimulation.
If you are new to foam rolling or unsure about technique, a personal trainer can help you with positioning, pressure and progressions so you get the benefits without injury or unnecessary discomfort.
Final word
Adding foam roller exercises to your routine can support recovery, improve mobility and reduce muscle tightness between workouts. As your body adapts, you can tweak angles, pressure and timing to suit your training and lifestyle.
For better results and correct technique, working with a personal trainer can help integrate foam rolling into a balanced training plan.
FAQs
You can foam roll daily or on training/rest days. For muscle groups you’ve worked heavily, giving 1–2 sessions per week is sufficient.


Other guides you might be interested in


Explore all guides about personal and physical growth
Find expert guides on nutrition, fitness, wellbeing, and mindset to build healthier habits. Learn when a coach, trainer, or therapist can help you grow with Bark.